Home Blog Page 5

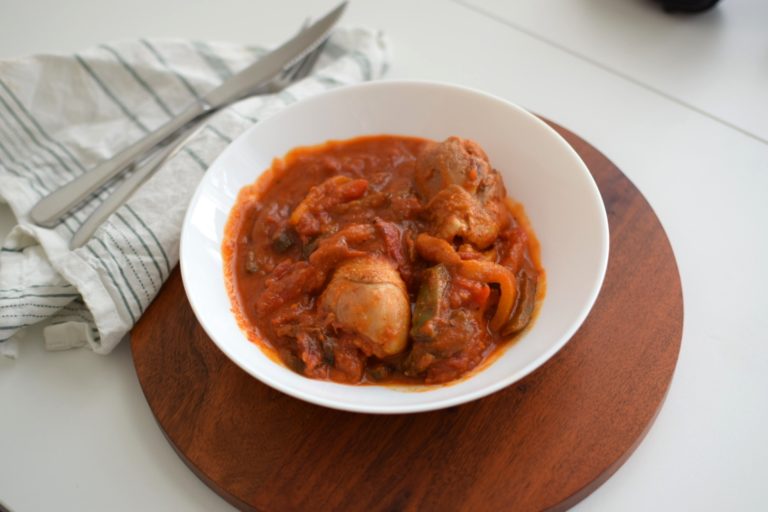
Chicken with peppers – a new approach

Chicken with peppers sounds such a weird combination, but this recipe features a tasty chicken with oft peppers on a homemade tomato sauce – SO GOOD!

tl;dr: cook a can of tomatoes; fry the peppers and remove skins; sear the chicken and add some liquid, put them all a big pot in low heat, and finalize.
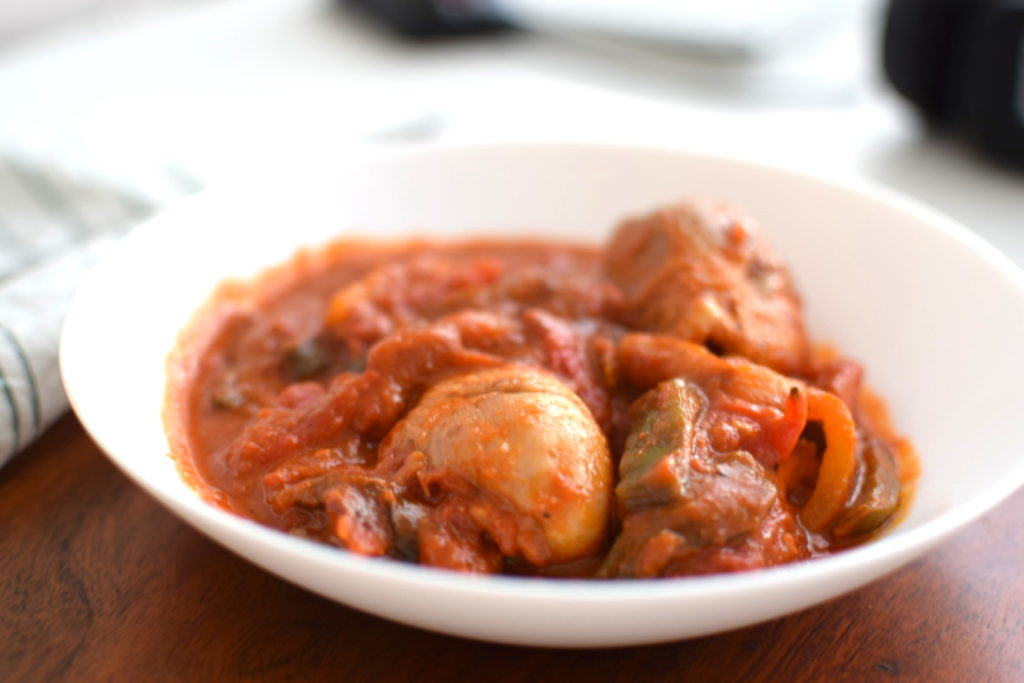
chicken with peppers

if you are feeling fancy, make this new approach to a squid salad as well.

Ingredients:

  1. 500gr of chicken – I have around me chicken drumsticks and thigh which I have taken apart.
  2. 200gr of peeled tomatoes – basically half a can
  3. 3 bell peppers, for a cool color, one red, one yellow one green
  4. 200ml white wine
  5. garlic
  6. fresh basil
  7. salt, pepper, sugar, olive oil

The chicken with peppers step by step recipe:

  1. Throw 100 ml of wine in a glass and start drinking it. We just wanna make sure that you are having fun while cooking and also that you are not using very bad wine for this. If you can drink it, you can cook with it.
  2. Clean up the chicken, dry it up, and properly marinate it with salt and pepper. Set it aside.
  3. In a hot pan, add some olive oil, the finely chopped garlic and let it cook a bit. Then add the tomatoes, salt and pepper. Once they start bubbling, add a bit of sugar and one or two fresh basil leaves. lower the heat and let is reduce for around 15 minutes.
  4. Meanwhile, as the tomatoes become a proper tomato sauce, you will need to fry the peppers. For this, you can choose whatever makes you happy. The easiest would be in a pan with a bit of oil and sear them. We are not looking for them to be properly cooked – but just a bit before.
  5. Take the peppers off the heat and start peeling the skin. Now this is optional, but it will go a long way as that whole mixture will be such a tender side for the chicken. After peeling them, cut them in strips.
  6. In a deep pot, add olive oil and throw in the chicken, skin side down. We are looking for an awesome golden sear on all sides.
  7. Upon golden chicken, add the rest of the wine and scrape the bottom of the pan, lower the heat a bit and let the wine cook the chicken for 10 minutes.
  8. Then add the tomato sauce and the pepper and let it cook on low for another 10 minutes.
  9. Check for salt and pepper now. As we did not tackle it before because there are a lot of moving parts

Check this medium post about a literal food for thought.

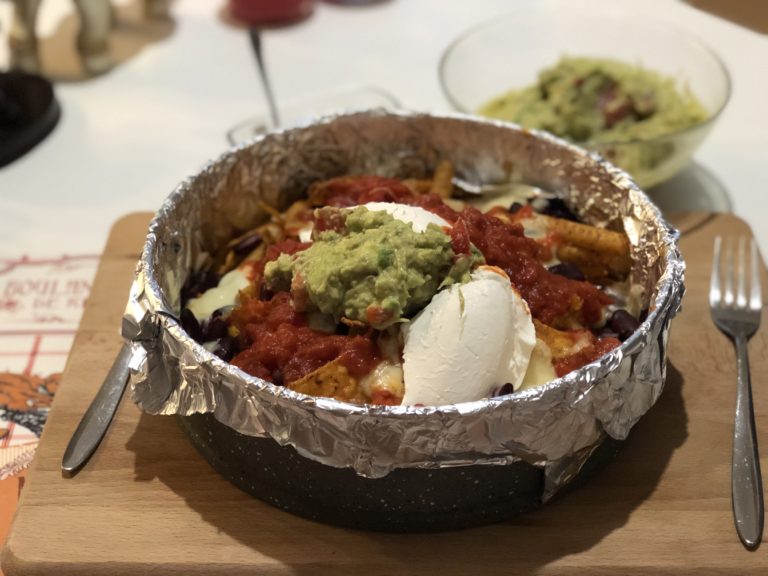
Cheesy homemade nachos – perfect movie night

Homemade nachos are a cool approach to having nachos done your way so that they are not only special but you can have as much cheese that you want.

We are going to approach this post focused on the components that you will need. You can decide on the amount yourself – as this is in the end, your own movie night homemade nachos

The chips

Tortilla chips usually tend to be the better solution. Depending on the type of chips that you choose, I would highly recommend getting salty once. On the other hand, if you have any type of Doritos, you have to take into account their taste and focus on having lighter condiments around them.

The beans

No self-respecting homemade nachos will work without beans. Here, we have to think about getting some red kidney beans. Now in the real world, if you don’t have red kidney beans, no biggie – but why would you buy any beans except red kidney beans?

The tomato sauce

My approach has always been that the arrabbiata tomato sauce is the best solution. Get the barilla alternative and you will not need anything else. Having said that, if you have some alternative sauces you can use them, but always keep in mind, you need a little zing.

The cheese

The cheese component here is actually very specific for my case for the reason that I just like it so much better. You can use whatever you want or whatever you have but hear me out: low moisture mozzarella – the same mozzarella that you use for pizzas. You will never go back!

The guacamole

Last but not least – the guac! Check this guacamole recipe here. In short, though the process is simple: mashed avocado, chopped garlic, fresh ground pepper, and a simple squeeze of lemon and topped off with a bit of salt.

The cooler

I usually add a bit of sour cream to put everything together as it couple very well with everything.

The finishing move

Put it in the oven for 10-15 minutes or till the cheese has melted and the sauce gets hot. If you are doing this, then keep in mind that you should have everything under some aluminum foil so you do not have to clean up afterward

If you are feeling naughty, check this homemade fried dough – it will blow your mind.

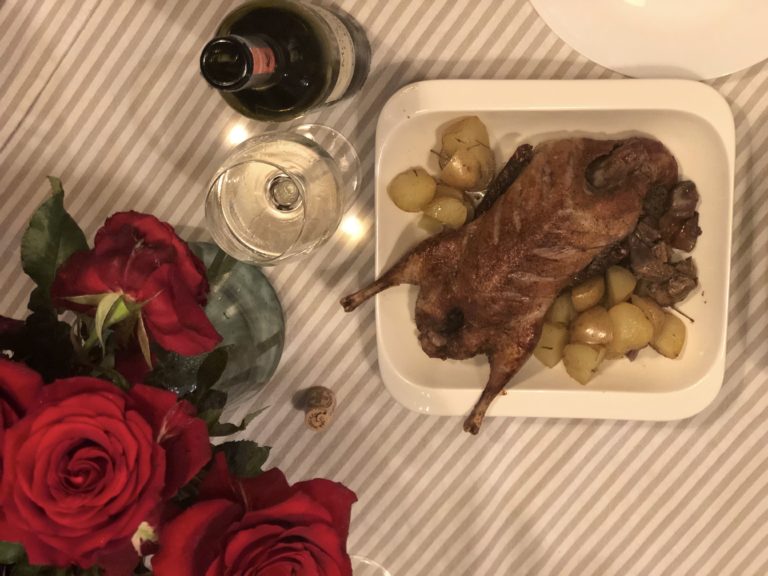
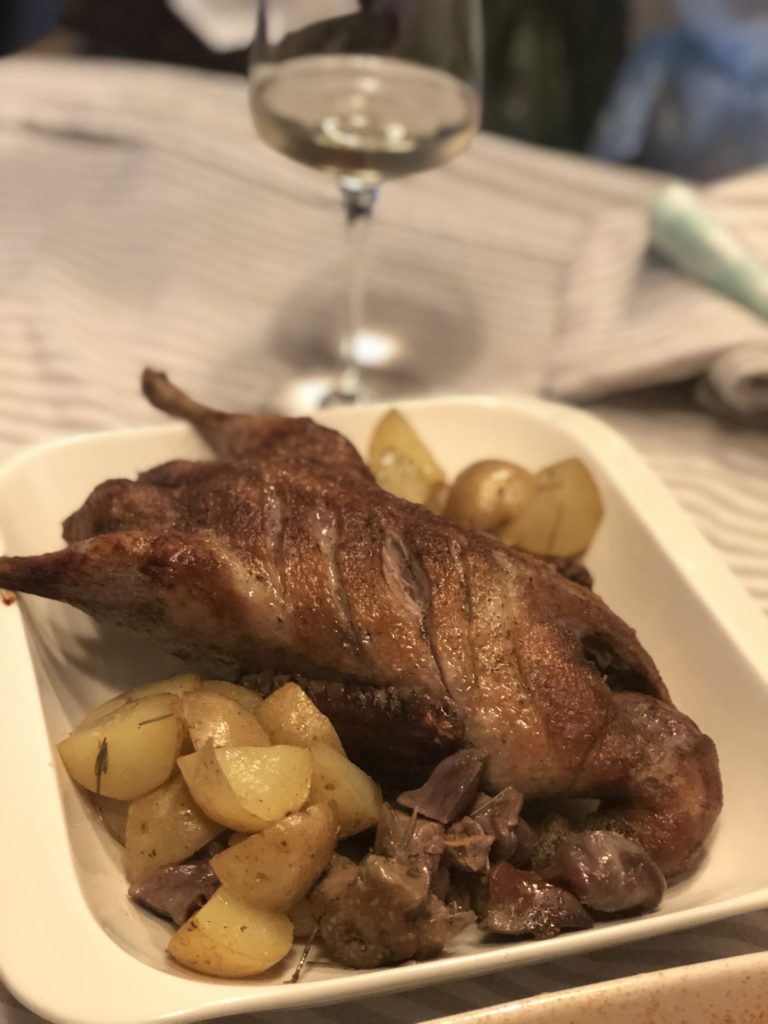
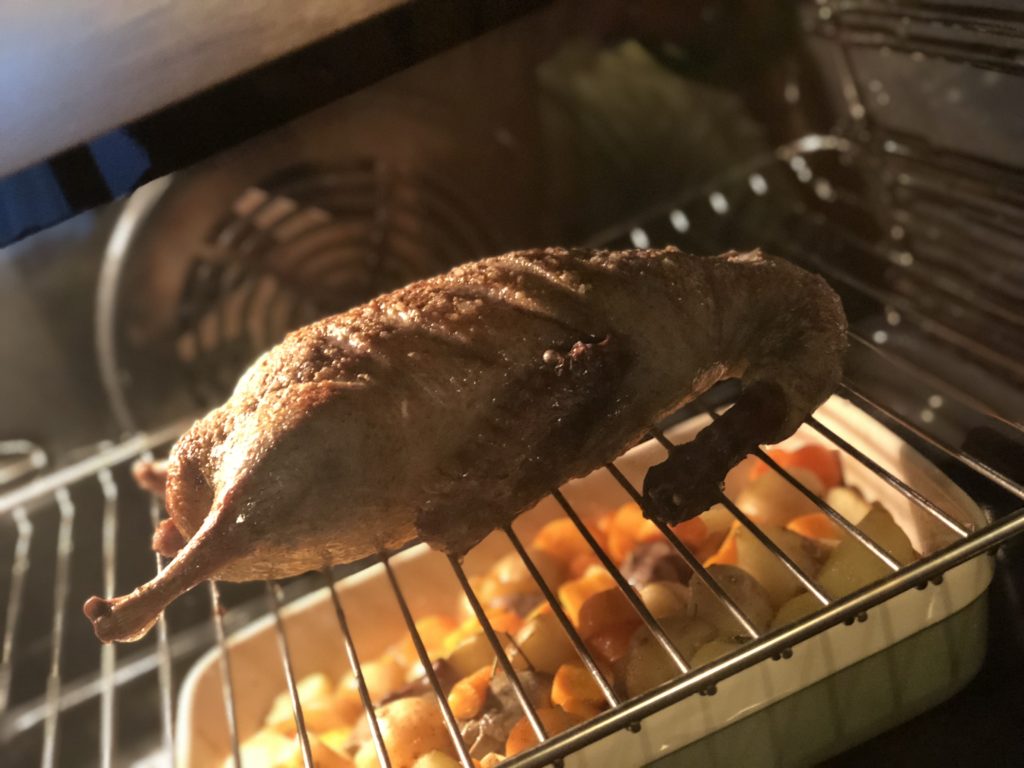
Crispy roast duck with baked potatoes

Whenever you hear crispy roast duck, you think of a gourmet and tough to cook dish. Obviously there is a very cool and complicated way to get it done, but we care for none of that. Today we will not tackle this, but we will focus on an overly simplified and yet, extremely delicious crispy roast duck recipe.

Crispy roast duck

tl;dr: marinate with whatever, cook it for 45 min per kg and flip every 45 min, let it sit after

Here are the core things to be taken into account:

  1. Clean and dry the duck. The dryer the duck, the better it is.
  2. Cook the duck 45 minutes per kg at 200 degrees in the middle rack.
  3. always cook in a rack over a roasting tray so that the fat does not stay in with the duck.
  4. For every 30-45 min, flip.
  5. As always, when you think it is done, poke it with a knife or a fork. If the juice is clear, we are doing good.
  6. Duck meat has the tendency to be very tough, so it’s best to let it sit for a bit after you cook it. Also, disregarding the instagramable picture, the cutting after cooking should be done in a proper cutting board. It’s not like a chicken that

Ingredients:

  1. A whole duck, cleaned and dried
  2. Salt and pepper
  3. Some chopped vegetables

Step by step for a crispy roast duck:

Crispy roast duck
  1. Warm up the oven at 200 degrees
  2. Dry the duck very well
  3. Score the skin of the duck for all that fat to be able to escape
  4. Salt and pepper it properly
  5. Put the oven rack in the middle and place the duck directly on the oven rack. Under the rack put a roasting tray.
  6. After 45 minutes, flip the duck
  7. On the last flip, add the veggies on the roasting tray that has the duck fat. Those veggies with the duck fat will be freaking outstanding.
  8. After the duck is done, take it out and cover it with aluminum foil. Let it rest for 40 minutes

Serve it with some very cool potatoes and great spinach and halloumi salad. As always, follow us on Instagram.

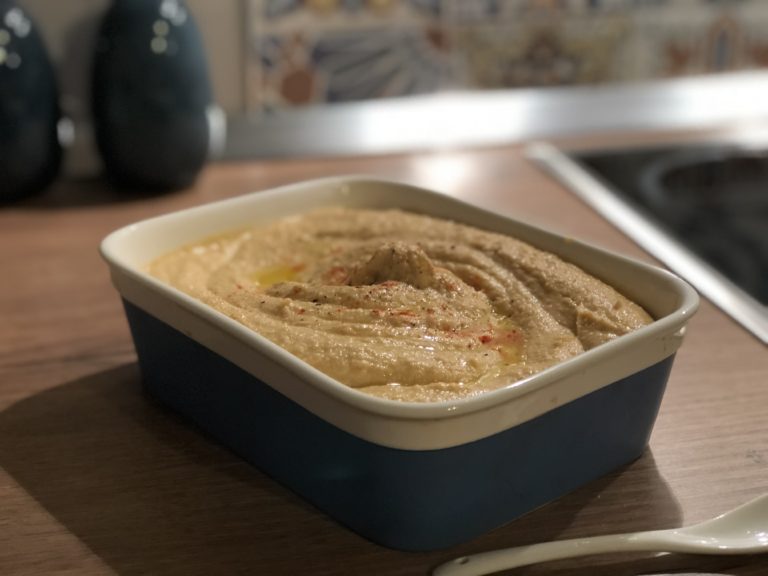
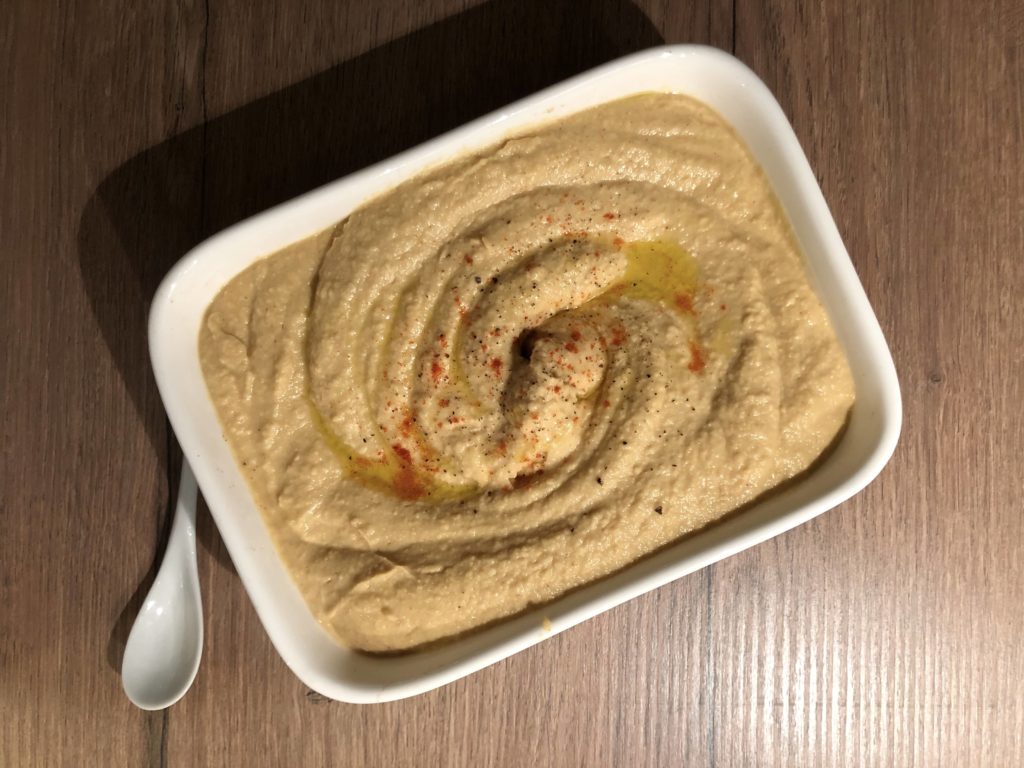
Simple homemade hummus dip

This homemade hummus recipe is a cheaper alternative to the store-bought, 3 euros for 150gr of “bland tasting not really hummus” + this game-changing trick.

I have updated the approach with a couple of different things to consider. Check this How to make hummus recipes

tl;dr: combine chickpeas, lemon juice, tahini, garlic, salt, olive oil and blend them.

homemade hummus

A while back I read in this book this crazy tip and since then has changed my hummus making approach. Can chickpeas usually come with this really brittle skin – get rid of that. It will make your hummus SO MUCH smoother.

A smooth hummus goes awesomely with any type of dipping condiment. Any type of fresh vegetable works, that being fennel, carrots, cucumbers, celery – whatever. Also, any type of toasted bread works. This is generally served with toasted pita, but whatever works

Ingredients:

  • 1 can of chickpeas
  • Juice of 1 large lemon
  • 4tbs of tahini
  • 1 garlic clove, minced
  • 2 tbs of olive oil
  • Salt to taste

The homemade hummus recipe:

  1. In a food processor, add the tahini and the lemon juice. We need to blitz it for 30 seconds, scrape the sides, blitz again, scape the sides, and blitz for the third time.
  2. Add the minced garlic, the olive oil, and a bit of salt. Blitz for 30 seconds, scrape the sides and blitz again.
  3. Strain the chickpeas. And blend them too. I would recommend adding them bit by bit for a smoother dip.
  4. Done

How to adjust:

  1. Depending on the tahini complexity, chickpea type, and your taste if after you have blitzed you will need to adjust. If the hummus is too chunky, add one or two tablespoons of water and scrape the sides. Blitz for 30 seconds, scrape the sides and do it again
  2. I am sure that you got the approach of blitzing for 30 seconds and scraping sides.

As always, do not forget to check out our Instagram for more cool posts, or better yet, this awesome salad to pair it with.

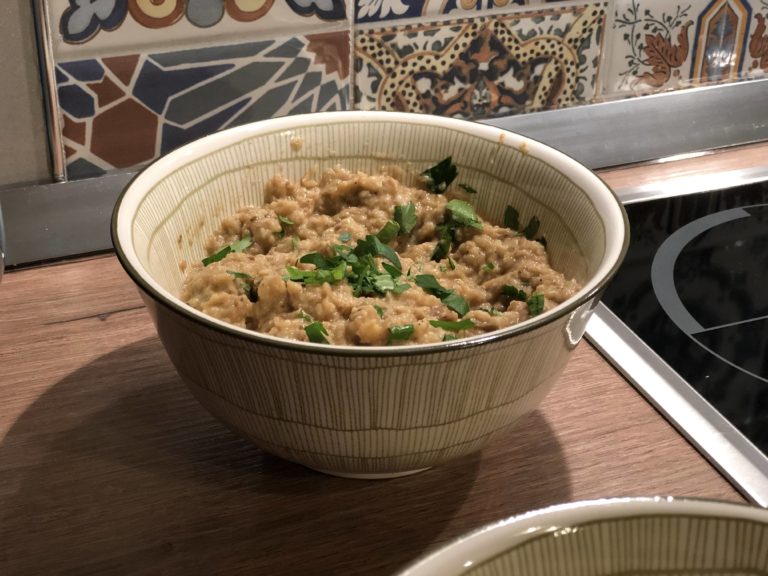
Baba ganoush – a delicious eggplant dip

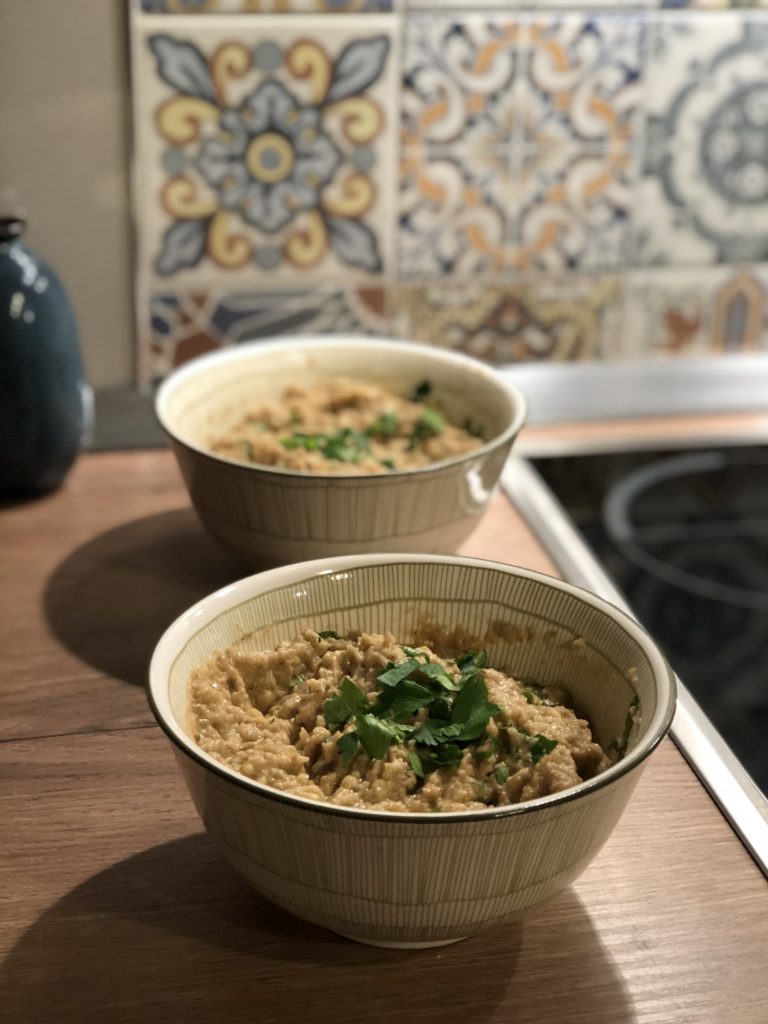
Baba ganoush is a great eggplant based dip that will blow your mind as it features only a couple of ingredients and it gives your table a great Mediterranean flavor easily.

tl;dr: Bake the eggplant and blitz the insides with tahini, lemon juice, paprika, garlic, salt, and pepper.

Baba ganoush

What are the things that you need to consider:

  1. baba ganoush has a distinctive smoky flavor. That comes from either grilling the eggplant or just using smoke paprika to simulate it
  2. eggplant tends to be bitter and fairly watery – add some salt and let it sit for a couple of minutes
  3. this is a vegan dish – maybe you are interested to know that.
  4. You need to adjust – as this is very dependant on the taste profile and very dependant on the type of eggplant that you have. Sometimes eggplants tend to be sweeter, bitter, juicier, with a lot more seeds. As such the beauty of this recipe is the adjusting that you will need to do.

Ingredients you will need:

  1. 1 eggplant
  2. juice of half a lemon
  3. 1 tablespoon of tahini
  4. 1 chopped garlic
  5. olive oil, paprika, salt and pepper

Baba ganoush recipe process:

  1. Cut the eggplant in half and add some salt on it. Let is sit for 10 minutes.
  2. Wipe the water that it’s formed on top and place the eggplant cut face down in an oven at 250 degrees for 15-20 minutes.
  3. Scoop the eggplant meat and put them in a blender.
  4. Add some olive oil, the tahini, the garlic, and the lemon juice
  5. Blitz and then taste.
  6. Adjust depending on your taste profile. I would say from the start that 1 tablespoon of tahini is not enough, but it gives you space to play around.

Condiments for dipping:

  1. Any type of fresh vegetable, that being fennel, carrots, cucumbers, celery – whatever
  2. Any type of toasted bread. This is generally served with toasted pita, but whatever works

As always, do not forget to check out our Instagram for more cool posts, or better yet, this awesome salad to pair it with.

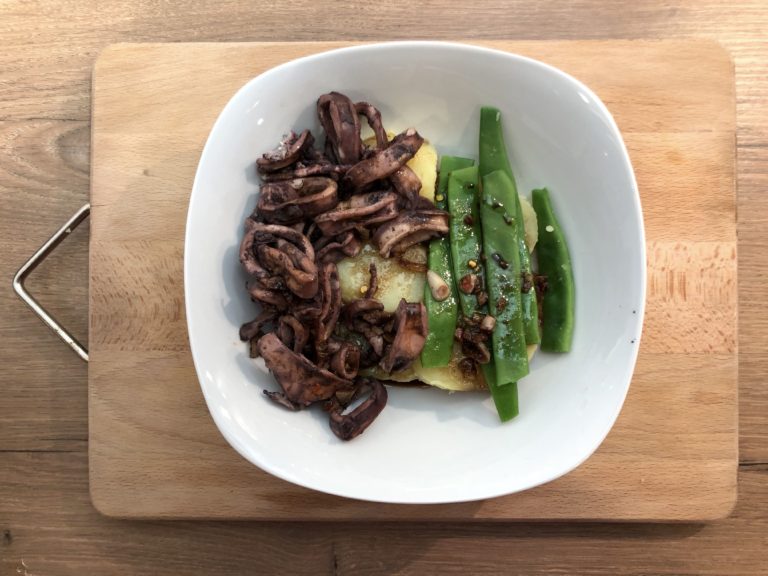
Genoese squid salad with potatoes & green beans

This is a different take to the squid salad which is braised in red wine and accompanied with potatoes and some greens is a complete show stopper.

This recipe is not the same as all the other recipes, because has a bit more steps than the regulars, but it features the basis of braising something. Here are the things that you need to consider:

  1. To braise you need a whole lot of aromatics. So to braise this squid I added a bay leaf, salt, pepper and plenty of garlic
  2. The braising liquid needs to have some sort of taste. For this squid salad, we are just braising it in red wine
  3. Meats are usually seared and then braised. Squid is a little special – as it’s tender yet very chewy. So it requires basically no searing.

Ingredients for the squid

  1. About 500gr of your favorite squid, cut into 1cm pieces
  2. 2-3 garlic cloves
  3. salt, pepper
  4. about 500 to 700 ml of red wine
  5. your favorite boiled potatoes
  6. some green beans

Squid salad recipe:

  1. Turn on the oven at 180 degrees
  2. clean and cut the squid. you do not need to dry them because we will drown them in wine
  3. Marinate them properly and add the garlic
  4. Put them in a casserole and add red wine will the squid are covered. Depending on the dish that you choose
  5. Cover it with an aluminum foil and place them in the oven for 45 min to 1 hour. They will be ready when the squid is soft to eat.
  6. While the casserole is cooking, boil in some salted water some potatoes and then boil a few green beans. I would use frozen ones – they are fine.
  7. After everything is cooked, put everything together and dress it with a simple olive oil, balsamic vinegarette, and salt.

As always, do not forget to check out our Instagram for more cool posts, or This gnocchi dish to pair it with.

One-pot easy chicken risotto

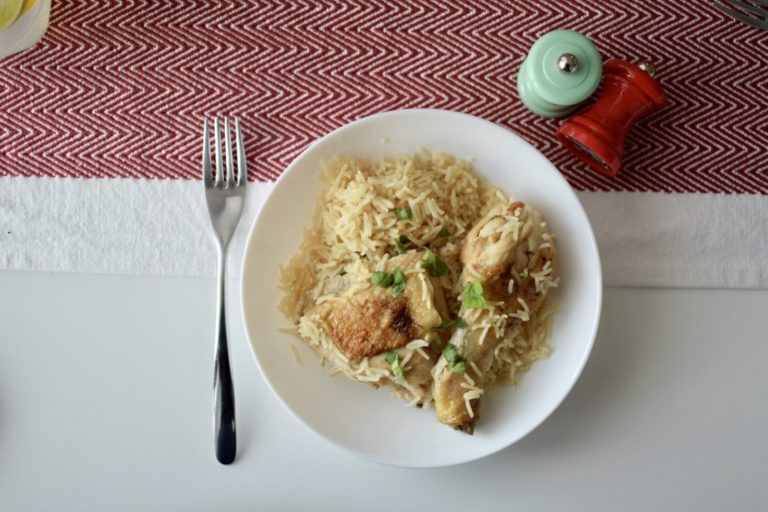
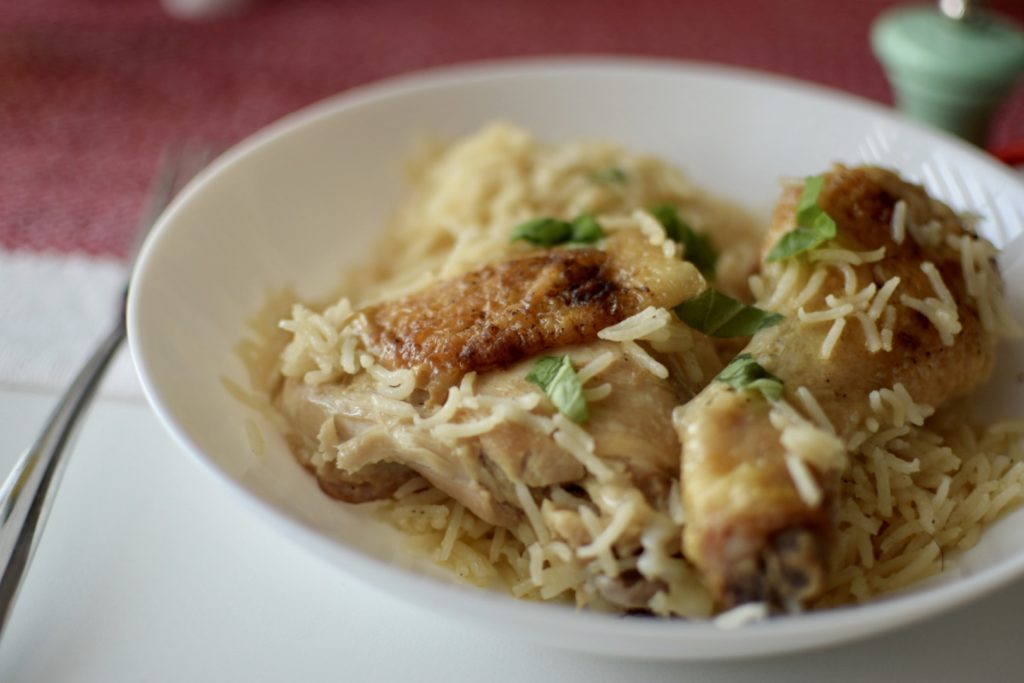
The chicken risotto is one of those cheap down to earth dishes that anyone can cook and should cook. It is packed with all the nutrients that you need for a delicious full meal, whilst just costing peanuts.

tl;dr: sear the chicken all around. add the rice and sear it as well, add the water and cook the rice and its ready

chicken risotto

For two you will need these ingredients:

  1. 2 chicken legs, drumstick, and thigh with the skin or whatever part of the chicken that you have in your house.
  2. olive oil, butter, salt, pepper and paprika
  3. rice for two people – a bit less than a cup

Step by step recipe process:

  1. Clean and wash the chicken legs. If you have them whole, divide the thigh and the drumstick if you have not already.
  2. Marinate the chicken with salt pepper and paprika. Keep the skin on.
  3. In a hot pan add love oil and just a bit of butter.
  4. Sear the chicken, skin side down first. Let the skin crisp up without moving it for 3-4 minutes and then flip. Sear it all around so everything has a nice color.
  5. Add a bit of butter, and then add the rice. Mix everything so the rice is coated with butter and oil and obviously coated with the chicken. as there is high heat, stir continuously.
  6. Add water with the logic of 1 part rice, 2 part water.
  7. Bring to boil, cover, lower the heat and cook the rice with the chicken for 15-20 minutes – till the rice is tender and the chicken is cooked.

You can serve this chicken risotto with a bit of yogurt on the side, or a nice delicious spinach halloumi salad and, if you are feeling frisky, post a photo on social media and tag @kitchenetterecipes so we can connect.

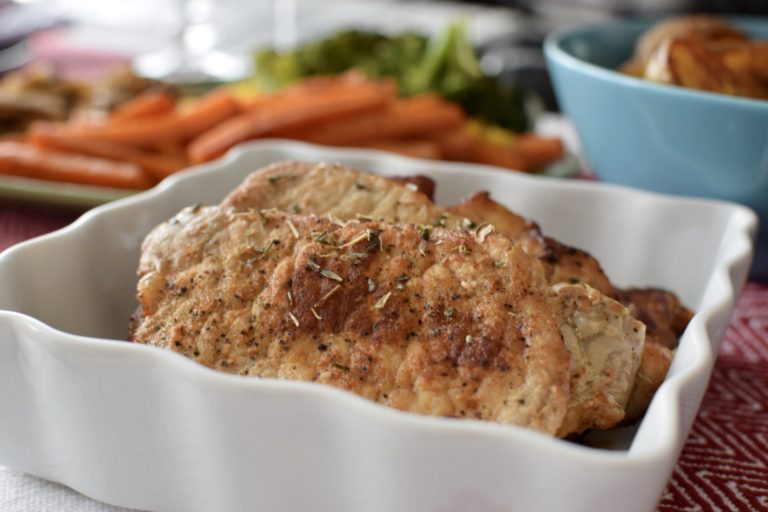
The simplest pan fried pork fillet

A pan fried pork fillet is a fillet of it’s the simplest form. An upgrade from the generic chicken or Tukey fillet, so cheap, yet so tasty. This recipe focused on some of the most important issues that you will have while cooking pork.

tl:dr; thin 1cm fillets, where the fat that covers it is pierced so that it stays flat, marinated(dried herbs, salt, pepper, garlic, paprika) and pounded thin, cooked in high heat so that the juices stay there and let rest

In detail, here are the things that you need to know:

  1. The most important part about pork fillets is that when they are cooked, they do not stay flat. Before you do anything, you need to slice horizontally the fat that covers it. The fat and the meat are connected with the sinue skin that tightens when you cook it, so if we pierce that, the fillet will stay flat. This applies generally to all meats.
  2. Pork filets, tend to be very dry because they do not have much fat content. To tackle that, we either cook them in a juicy low simmer sauce or in high heat for not a lot of time. If you cut them thin (say 1cm) they will cook very very fast.
  3. Pork fillets are tough, as such you need to damage the connective tissue mechanically. Also, usually, they are not perfectly even all around. To tackle this we need to pound the fillet. Think tenderize, not pulverize – you do not need to open holes in the meat.

Let’s get cooking: the recipe follows:

  1. Slice the sinue horizontally to keep the fillets flat
  2. Marinate with salt, pepper, paprika, dried oregano, and dried garlic
  3. Pound the fillets thin
  4. Add a bit of olive oil to them, massage it all around, and let them sit for a couple of minutes.
  5. In hot pan in medium-high heat, add a bit of olive oil
  6. Throw in the fillets, but do not overcrowd the pan
  7. Cook for 3-4 minutes each side
  8. Let them sit for the time they cooked.

Serve this pan-fried pork fillet with a side of vegetables and a great spinach and halloumi salad. As always, follow us on Instagram.

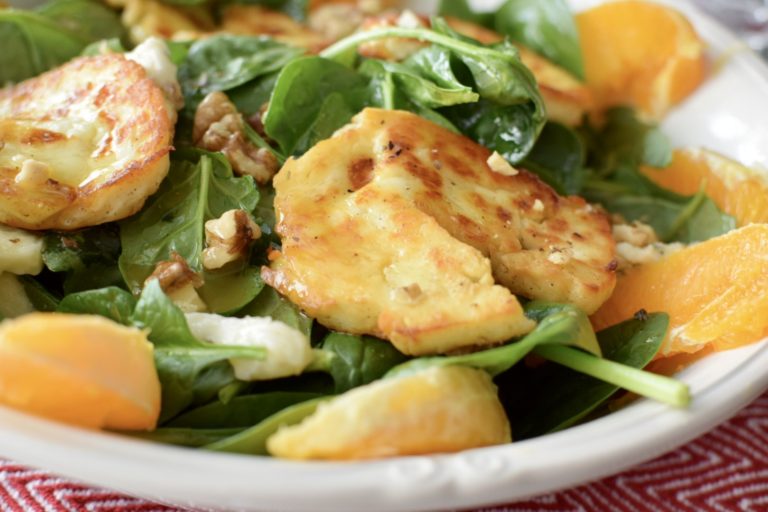
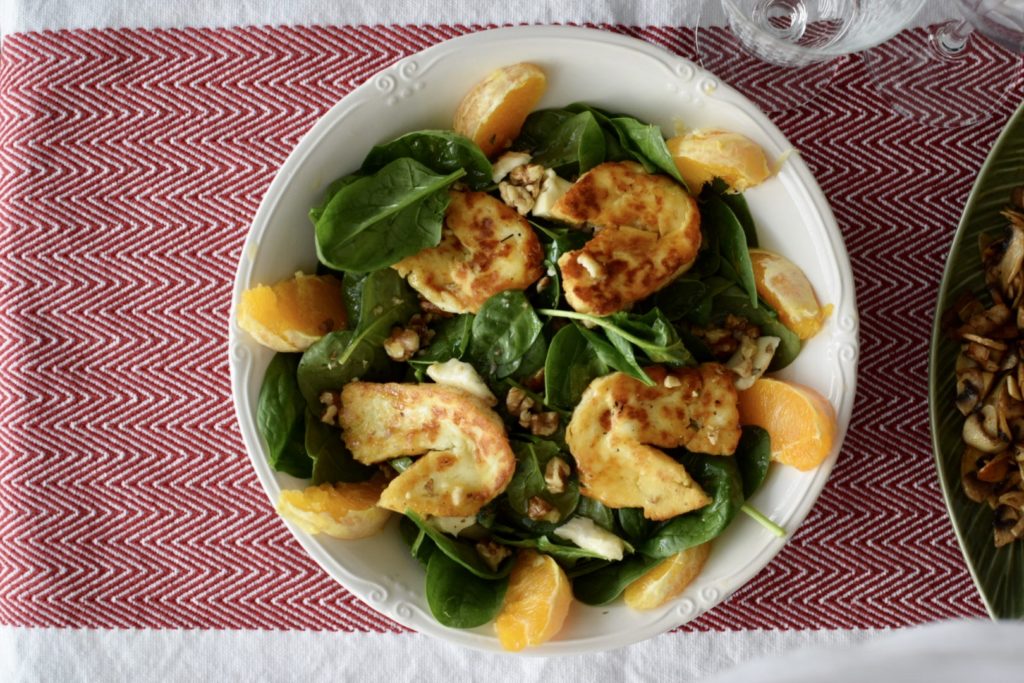
Spinach and halloumi refreshing salad

Fresh spinach and halloumi have the tendency of combining together very well in a fresh salad. There are plenty of ways to combine them but the easiest and least error-prone is combining it with orange slices/juice.

tl;dr: fresh spinach, fried halloumi, walnuts, orange slice and an orange vinaigrette combined together

Spinach and halloumi

Both spinach and halloumi have very distinctive strong, bold, deep flavors and they need a bit of sweetness and sourness to come alive. The best possible addition here is the orange. We are going to use one whole orange. A quarter is going to go for the vinegarette and the rest orange slices.

How to make a Spinach and halloumi salad

  1. Wash the spinach properly. Use baby spinach if you have it, but regular spinach also works
  2. In a hot pan, fry some halloumi cheese. You can even eat halloumi raw, but fried halloumi is much more interesting.
  3. slice some orange slices
  4. In a big bowl, place the spinach first and marinate with a bit of olive oil. Mix it up before you throw anything else.
  5. Add some walnuts, crushed or not – up to you
  6. Add the oranges and the hot fried halloumi.
  7. Throw in the vinegarette

How to make an Orange vinegarette

  1. I usually make vinegarette’s in small jars that are lockable because of the vigorous mixing that it requires to combine everything together. You can alternatively mix it up with a fork – whatever works.
  2. I tend to marinate my salads with olive oil ahead of time as it simplifies the approach and you tend to use less vinegarette, so you will use less oil to begin with
  3. Add 1 part oil, 1 part orange juice, 1 part honey or maple syrup
  4. Add some salt and pepper
  5. Shake vigorously till the mixture combines.
  6. Now taste. You should adjust to your taste buds – don’t follow these recipes blindly!

As always, do not forget to check out our Instagram for more cool posts, or This gnocchi dish to pair it with.

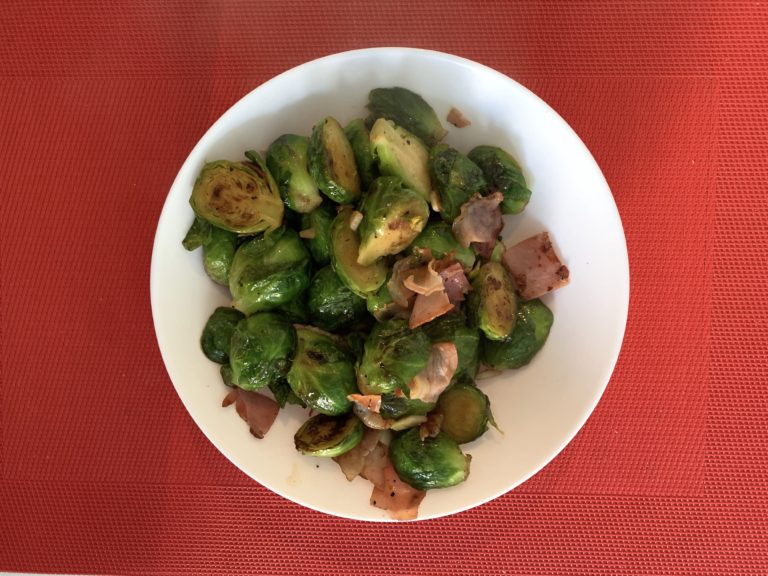
Sauteed Brussel sprouts with bacon

It may sound cliche, but when I was a kid sauteed Brussel sprouts were never my thing. While growing up, I acquired this taste, and I have to say – it was definitely worthied.

As always, to;dr: cook the bacon first, remove, saute the Brussel sprouts in high heat till they caramelize, add a bit of garlic, add the bacon, mix it up and add salt and pepper to taste.

Now a couple of things that you will need to know before you eat sauteed Brussel sprouts.

  1. The number one thing is that your stomach might not agree with them, so do not eat too much. If not, you will have gas, a lot of it. Sheldon did not get it either, look what happened to him.
  2. Their best taste is when they blacken a bit, so don’t be shy to saute them even more.
You will need:
  1. Brussel sprouts washed and halved
  2. Minced/chopped garlic
  3. Bacon
  4. olive oil
  5. Salt and pepper
How to get it done
  1. As always, with anything with bacon, you start with a cold pan and no oil. Put it on medium heat until they become crispy. Remove from heat and retain the bacon fat.
  2. In the same pan, sautee the halved Brussel sprouts for 5-7 minutes without touching them with a bit of olive oil. Cover it up.
  3. We are looking to sear them heavily.
  4. Afterward, lower the heat and add the minced garlic and crispy bacon.
  5. Add salt and pepper to taste.
  6. Ready

I know these sauteed Brussel sprouts are delicious as sides, so why not make them with some Oven-roasted baby potatoes or some Roasted beans in tomato sauce to you easy dinner ideas? It’s fancy, yet diverse and humbly cheap for anyone.

As always, do not forget to check out our Instagram for more information.